Log in to your Google account and go to the APIs & services. Navigate to Credentials using the left-hand menu.
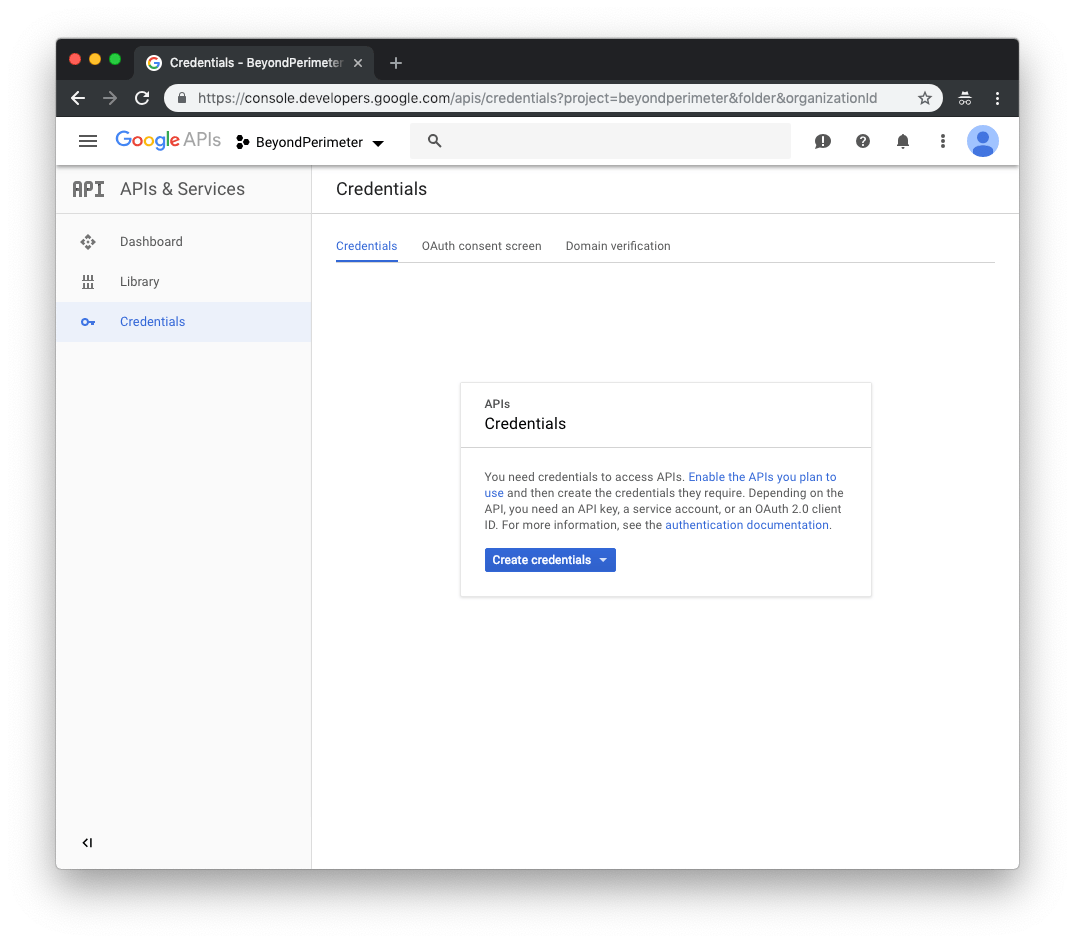
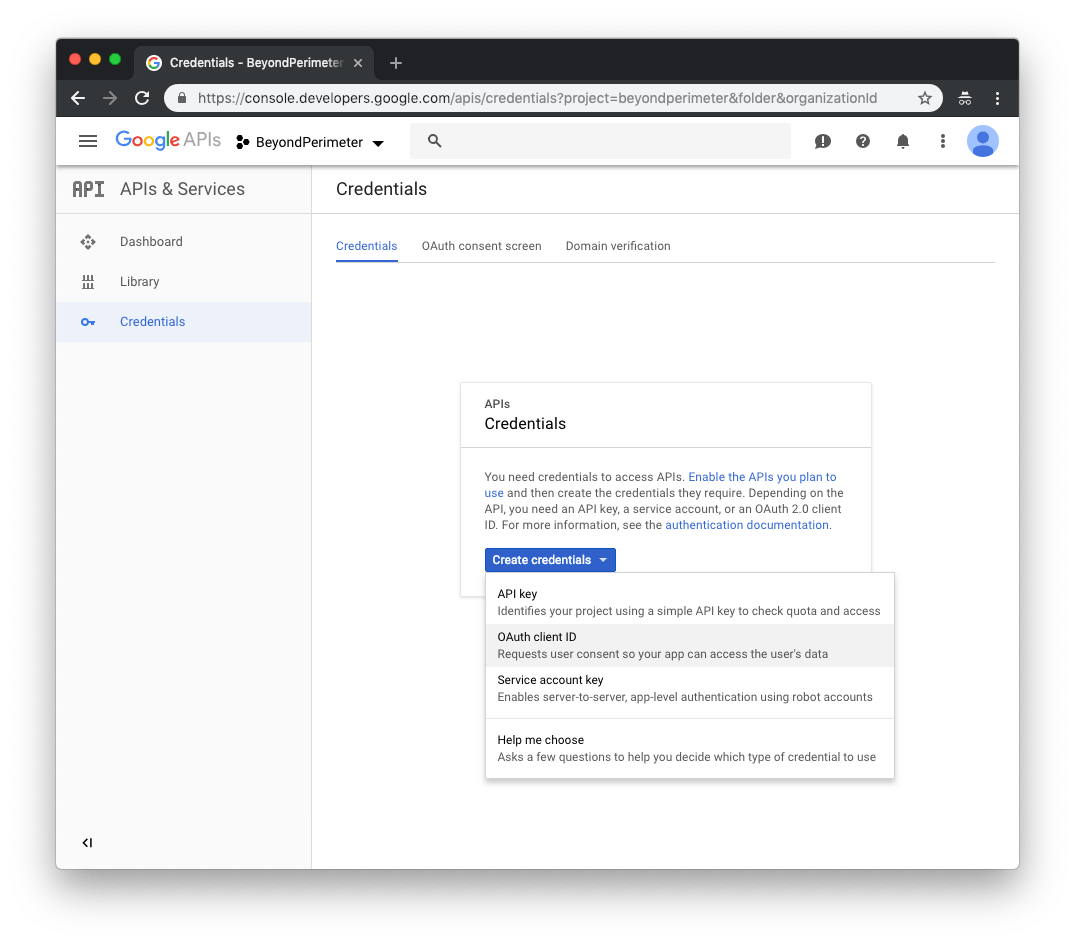
On the Credentials page, click Create credentials and choose OAuth Client ID.
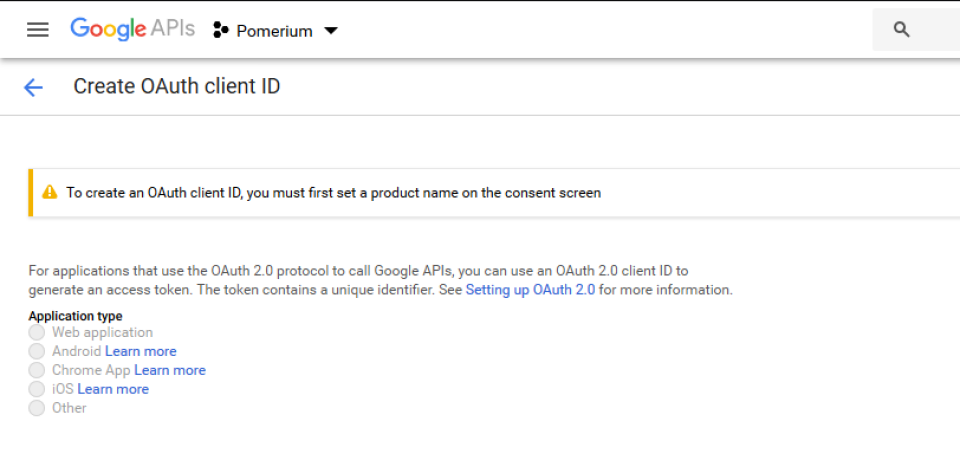
If you don't currently have an OAuth consent page configured, google will not allow you to create credentials until this is completed, and you will likely see this banner on the page.
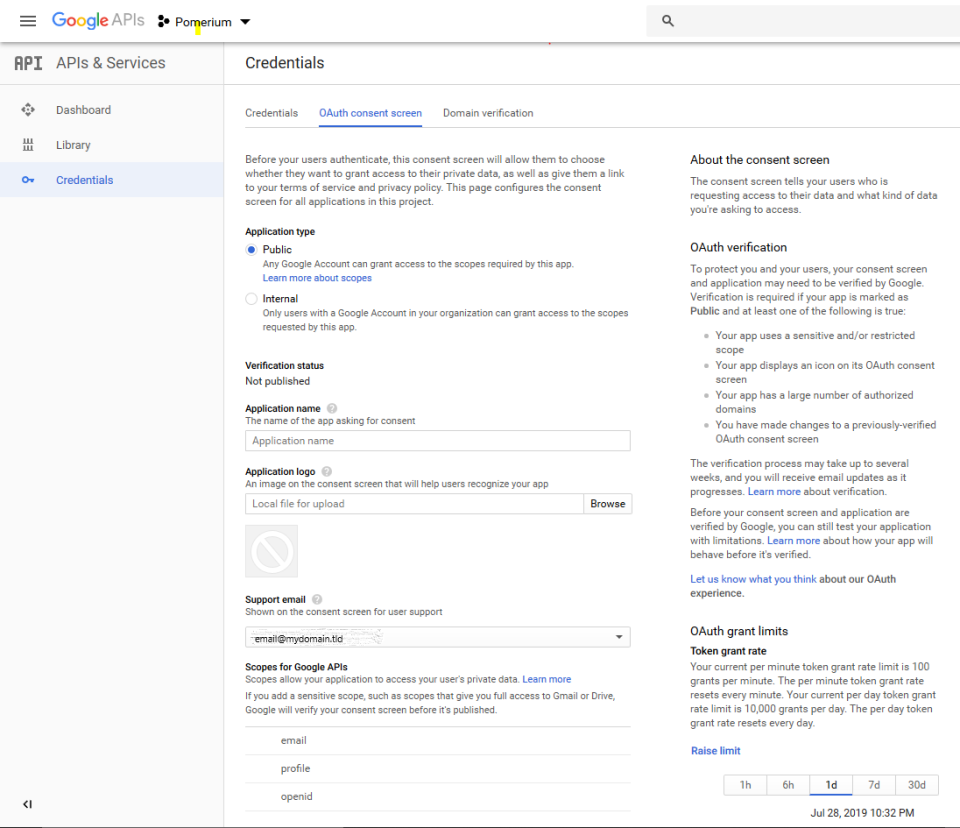
Click the button on the banner to go to the consent screen configuration. If all you are configuring is pomerium, you only need to fill in "Application Name" with your desired moniker, and "Authorized Domains" with the domain that pomerium will be calling google from. Afterwards, return to the credential creation page.
On the Create Client ID page, select Web application. In the new fields that display, set the following parameters:
| Field | Description |
|---|---|
| Name | The name of your web app |
| Redirect URI | Redirect URL (e.g.https://${authenticate_service_url}/oauth2/callback) |
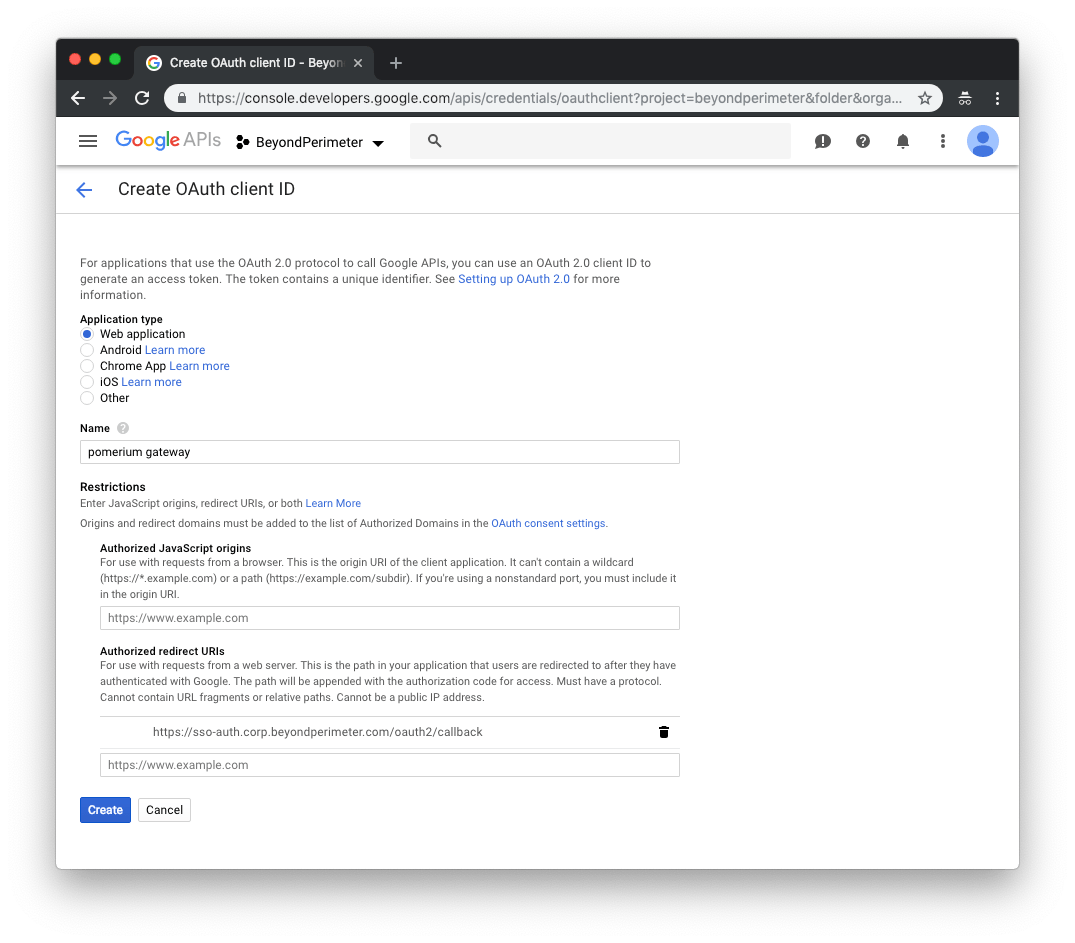
Click Create to proceed. The Client ID and Client Secret settings will be displayed for later configuration with Pomerium.
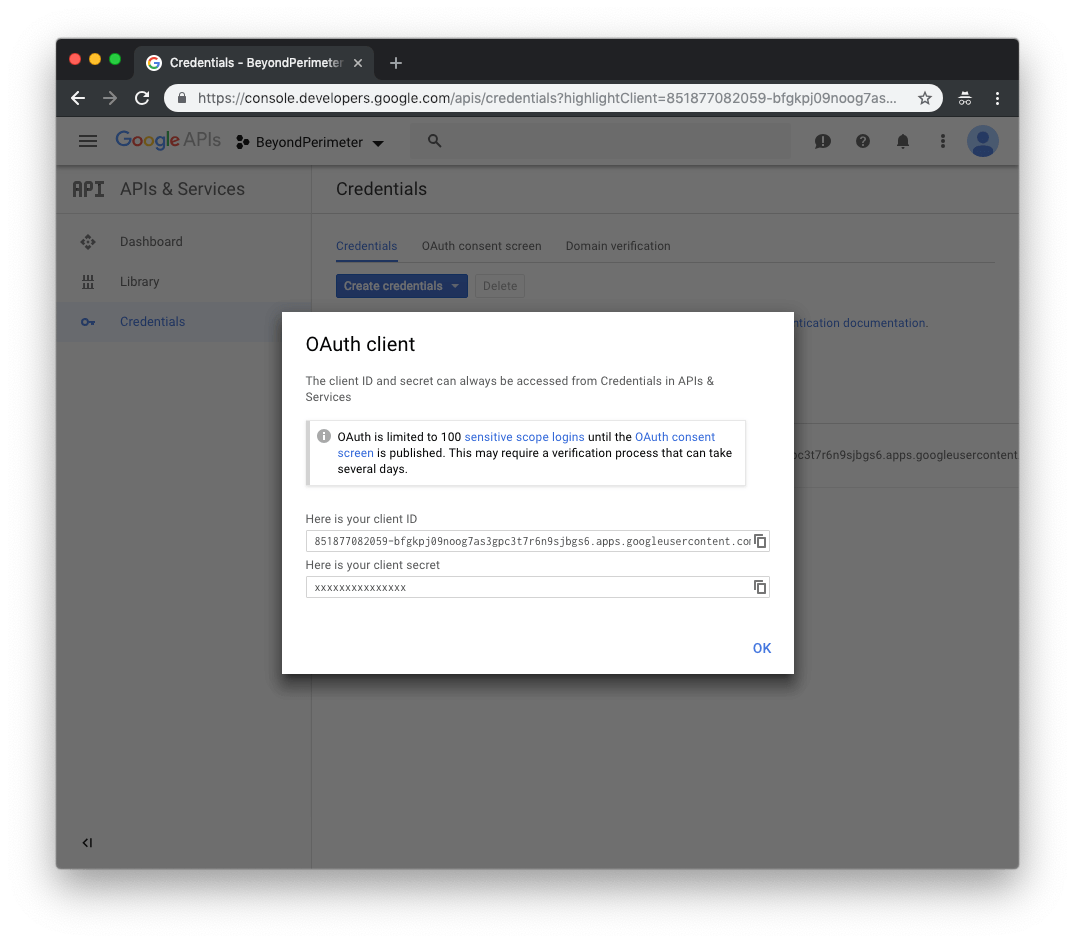
In order to have Pomerium validate group membership, we'll also need to configure a service account with G-suite domain-wide delegation enabled.
- Open the Service accounts page.
- If prompted, select a project.
- Click Create service account. In the Create service account window, type a name for the service account, and select Furnish a new private key and Enable Google Apps Domain-wide Delegation.
- Then click Save.
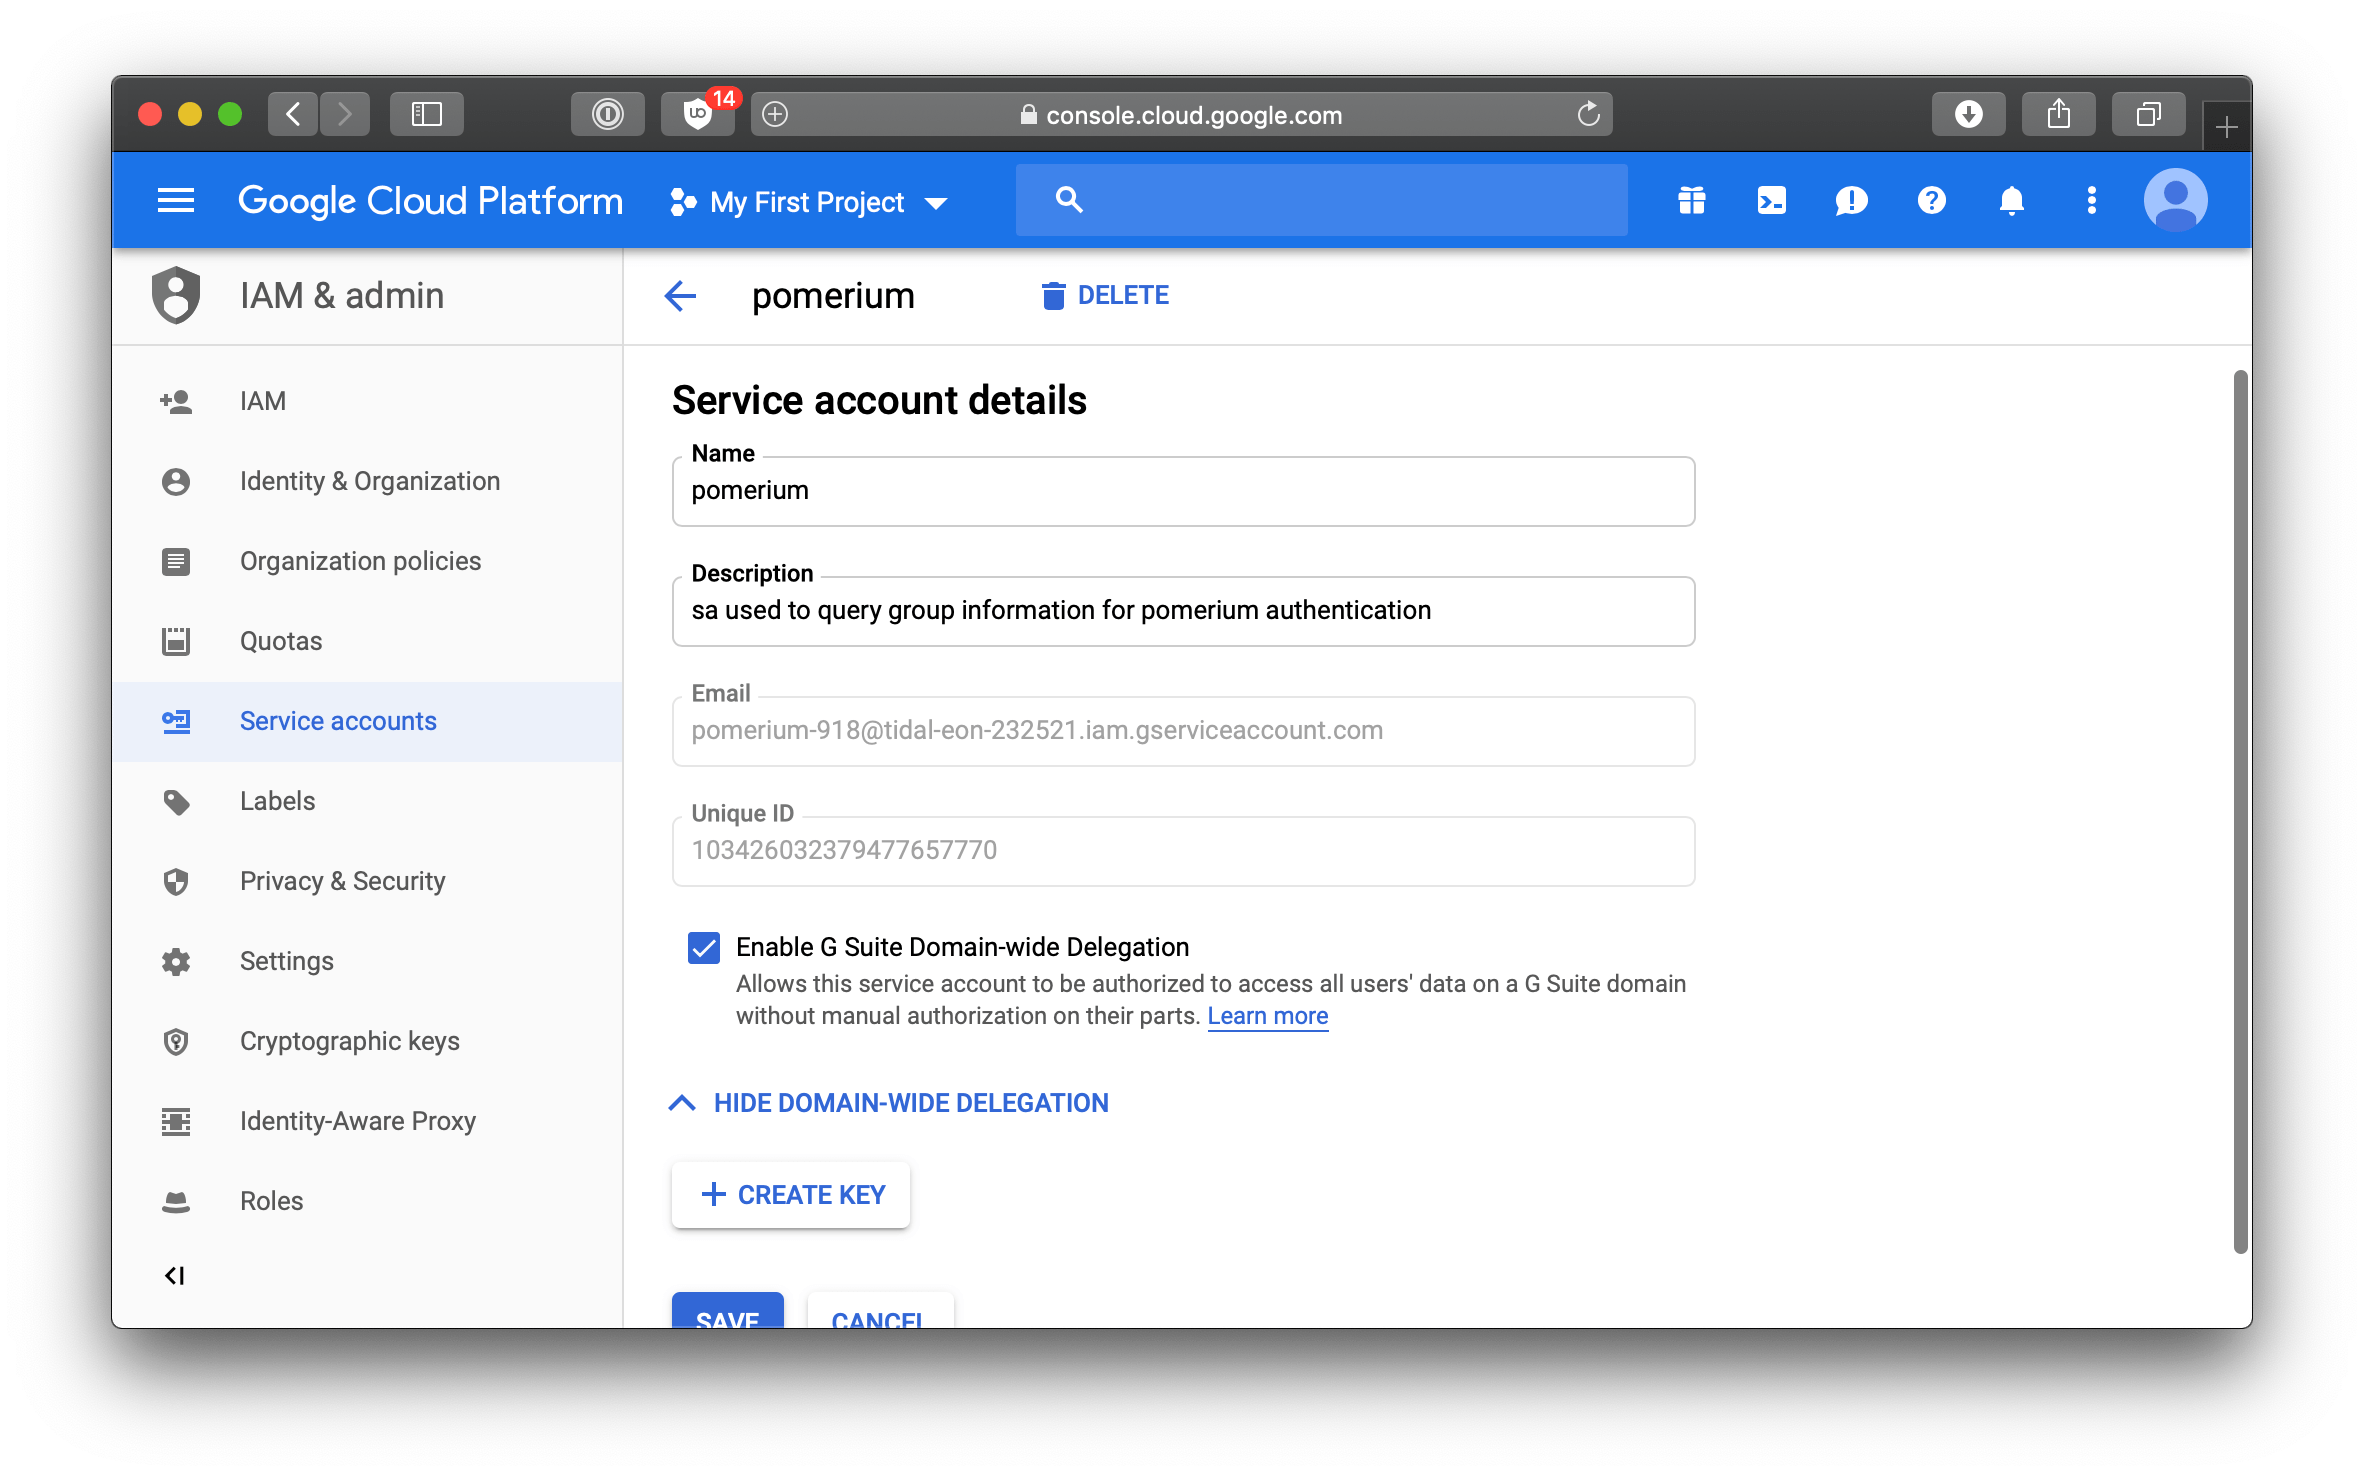
Then, you'll need to manually open an editor and add an impersonate_user field to the downloaded public/private key file. In this case, we'd be impersonating the admin account user@pomerium.io.
WARNING
Google requires that service accounts act on behalf of another user. You MUST add the impersonate_user field to your json key file.
{
  "type": "service_account",
  "client_id": "109818058799274859509",
  ...
+  "impersonate_user": "user@pomerium.io"
  ...
}
The base64 encoded contents of this public/private key pair json file will used for the value of the IDP_SERVICE_ACCOUNT configuration setting.
Next we'll delegate G-suite group membership access to the service account we just created .
- Go to your G Suite domain's Admin console.
- Select Security from the list of controls. If you don't see Security listed, select More controls 1. from the gray bar at the bottom of the page, then select Security from the list of controls.
- Select Advanced settings from the list of options.
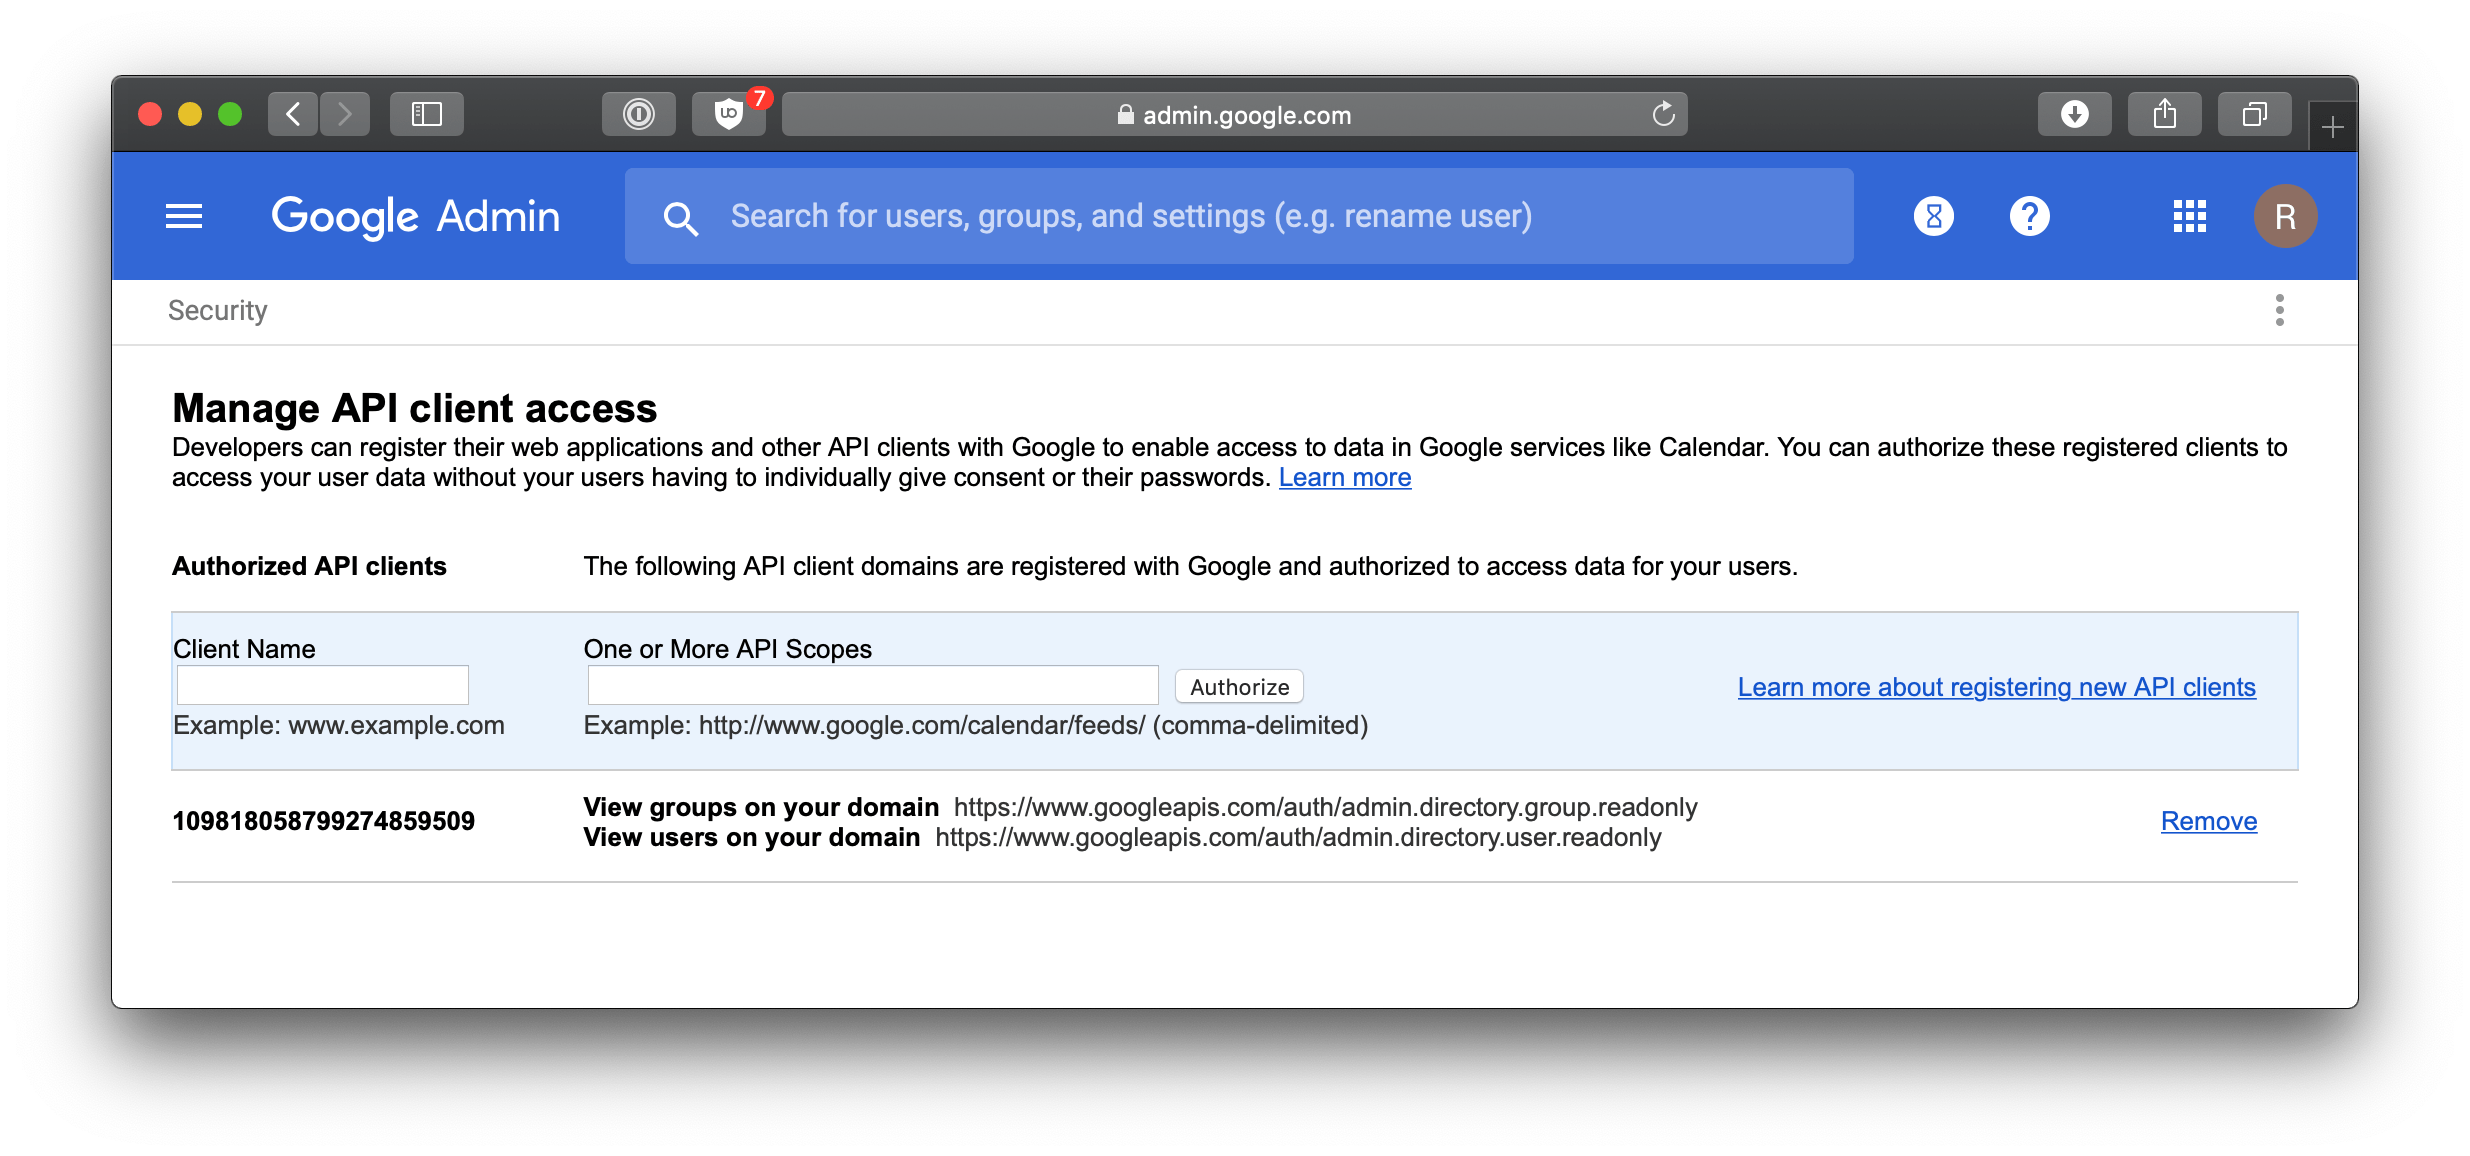
- Select Manage API client access in the Authentication section.
- In the Client name field enter the service account's Client ID.
- In the One or More API Scopes field enter the following list of scopes:
https://www.googleapis.com/auth/admin.directory.group.readonlyhttps://www.googleapis.com/auth/admin.directory.user.readonly - Click the Authorize button.
Your environmental variables should look something like this.
IDP_PROVIDER="google"
IDP_PROVIDER_URL="https://accounts.google.com"
IDP_CLIENT_ID="yyyy.apps.googleusercontent.com"
IDP_CLIENT_SECRET="xxxxxx"
IDP_SERVICE_ACCOUNT="zzzz" # output of `base64 -i service-account-key.json`
